Electrolytic rust removal
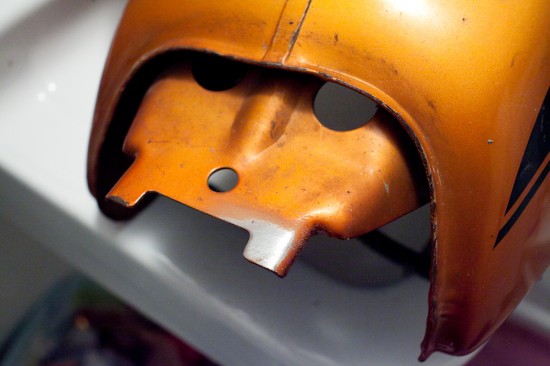
So, the inside of the motorcycle’s gas tank is fairly rusty. Not so much that it’s falling apart, but there’s enough surface rust and gunk that I’d be concerned about particles floating into the fuel system and clogging something up. Clearly I must clean the inside…except this is a sealed metal bubble with no hole in it bigger than 5cm, and the inside shape is surprisingly complicated (the better to fit around the electrical parts that sit just below it on the frame). How can I reach all those corners to remove the rust?
Electrically! By filling the gas tank with an electrolyte, floating an anode in the liquid, and using the tank itself as an cathode, we can electrically convert the rust back into elemental iron, which is only loosely bound to the underlying metal and can be scraped off very easily. You can’t repair rust damage this way, but the process will only attack oxidized iron, so at the end you’ll be left with a relatively clean piece of bare steel showing pitting or roughness where the rust was.
First, sand off some of the paint on part of the tank, exposing the bare metal. This is where you’ll make the cathodic connection.
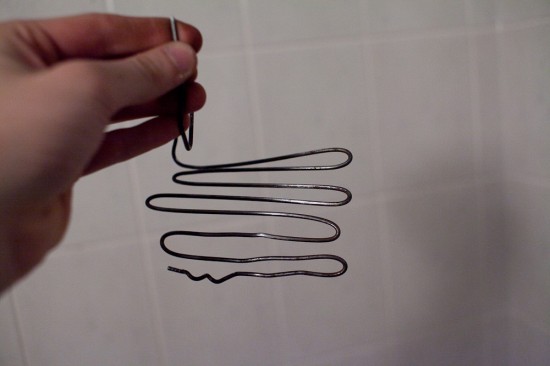
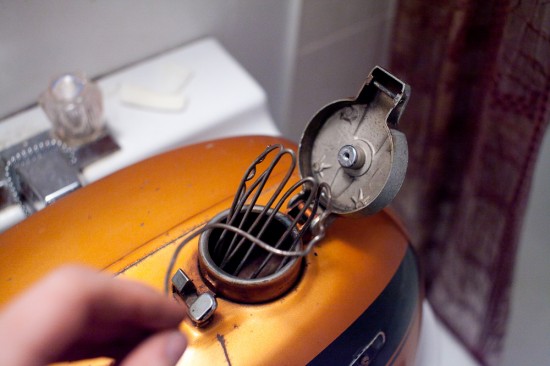
Next, make an anode. I used a piece of coat hanger wire bent back and forth. You want a shape that covers a lot of area inside the tank, but still fits through the filler hole, and can be formed in a way that it doesn’t touch any interior surface and cause a short-circuit. The anode should just float freely inside the electrolyte. Oh, and don’t use anything important or expensive, because like the portrait of Dorian Gray, the anode will rapidly become rusty and eventually fall apart as the cathode gets cleaner.
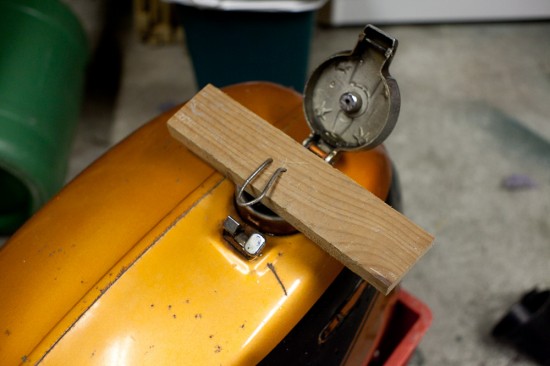
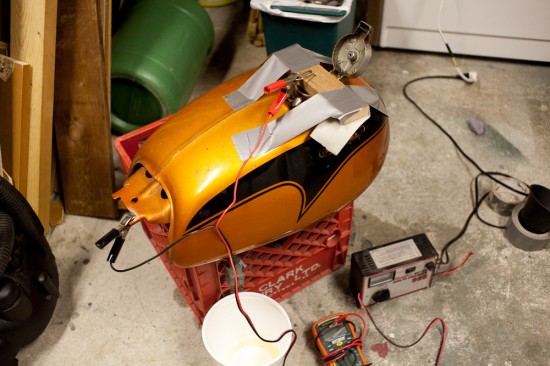
Check that the anode fits properly inside the tank, and find a way of supporting it. I used a piece of scrap wood with a couple of holes drilled in it…if I were doing this more frequently I’d probably work up some kind of circular rubber cap but this kludge should work fine. Remember not to let the electrode touch anywhere on the inside!
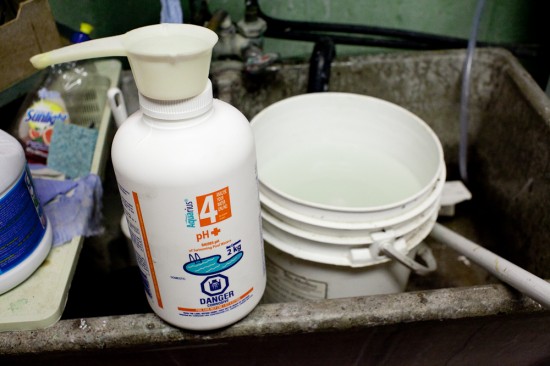
Now mix up some electrolyte. Don’t use acids; you’ll just create more rust and have to deal with hydrogen embrittlement on any high-carbon parts. Don’t use table salt either, because the electrolysis will generate chlorine gas. Instead, use a weak alkaline solution of something like sodium carbonate. This is sold as “washing soda” (not baking soda!) in some places, and as pH-plus in pool supply stores. I used around half a cup of Na2CO3 per gallon of water; the specific amount doesn’t matter that much, but the liquid should feel slippery if you’ve got the right concentration.
Pour it into the tank until it’s completely full:
Then hook up your power supply, negative to the tank and positive to the anode. Don’t mix them up or you’ll polish the coat hanger and dissolve the tank instead. Any power supply rated for 12 volts and 2-5 amps is plenty; I started with a battery charger then switched to a computer PSU. When you hit the power, you should see tiny bubbles start fizzing up from any metal surface in the electrolyte.
Let it cook for one to five days, depending on your power level and electrolyte concentration. Remove the anode every so often to clean it — if everything’s working right it’ll have built up a thick coating of loose rust that should just disintegrate and fall off when you touch it.
Results in a few days!
